Deploy a Full-Stack React Application AWS
Step By Step Guide To Deploy ReactJS App on AWS Amplify
I am a frontend engineer with a passion for exploring new web technologies, I bring a vast knowledge of jQuery, JavaScript, React, Next, context API, and Redux to every project. With a keen eye for detail and a focus on delivering exceptional user experiences, it is my responsibility to code, style, and create reusable components that adhere to UI specifications. My goal is to help you bring your ideas to life, and I'm always eager to collaborate with others on new and exciting projects. Whether you're looking to create a sleek, modern website or a cutting-edge web application, I have the expertise and creativity to make it happen. If you're interested in learning more about me or discussing project ideas, please don't hesitate to reach out. I'm always looking to expand my network, and I would love to connect with you!
It is not breaking news that free versions of Heroku Dynos, Postgres, and Data for Redis® will stop being offered on November 28, 2022. Due to the fear of losing projects, many tech beginners who had hosted their projects on Heroku have become extremely anxious as a result of this.
There are other platforms offering free cloud hosting services, which is fantastic news. I'll mention a few, but Amazon Web Service will be our main focus in this article.
- Firebase.
- Vercel.
- Cloudflare Pages.
- Github Pages.
- AWS.
- Netlify.
Overview
In this article, you'll learn how to build a straight-forward full-stack web application using AWS Amplify. You'll create and host a React Application on AWS.
Introduction
For developing, delivering, and hosting single-page web applications or static websites with server-less back-ends, AWS Amplify offers a Git-based CI/CD workflow.
The first thing we'll do is build a fresh React application and push it to a GitHub repository. The repository will then be linked to AWS Amplify web hosting before being deployed to a content delivery network (CDN) that is housed on the amplifyapp.com domain and is accessible worldwide.
Create a new React Application
The simplest way to create a React app is by using the command create-react-app.
npx create-react-app react-aws
cd react-aws
npm start
npm run build
/* npm run build creates a build directory with a production build of your app. */
Initialize GitHub Repository
In this step, we'll create a GitHub repository and commit your code to the repository. You'll need a GitHub account to do this.
git init
git add .
git commit -m 'your preferred commit message'
git remote add origin git@github.com:username/reponame.git
git push origin main
Log into AWS
Whether you're a first-time user or a seasoned pro, you must register for or log into AWS. After completing the registration or login process, open the AWS Management Console in a new tab, put "Amplify" into the search bar when it has finished loading, and then pick AWS Amplify to launch the console service.

Deploy your app with AWS Amplify
In this step, we will connect the GitHub repository you just created to the AWS Amplify service. This will enable you to build, deploy, and host your app on AWS.
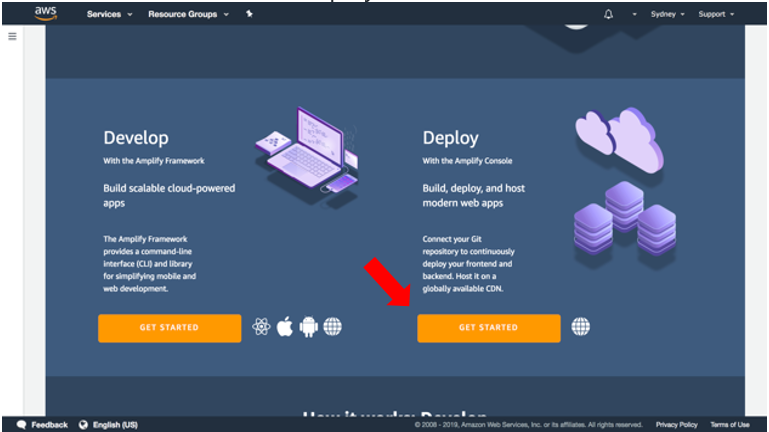
- In the AWS Amplify service console, select "Get Started" under Deploy.
- Select GitHub as the repository service and select Continue.

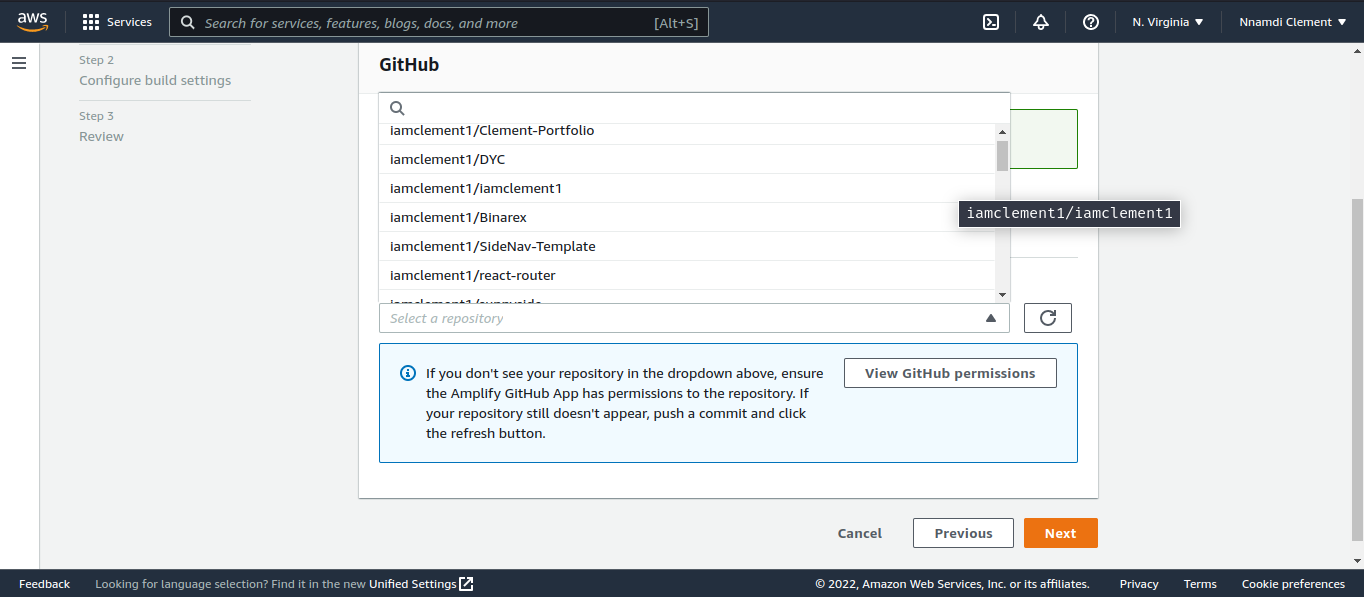
- Authenticate with GitHub and return to the Amplify console. Choose the repository and master branch you created earlier, then select Next.
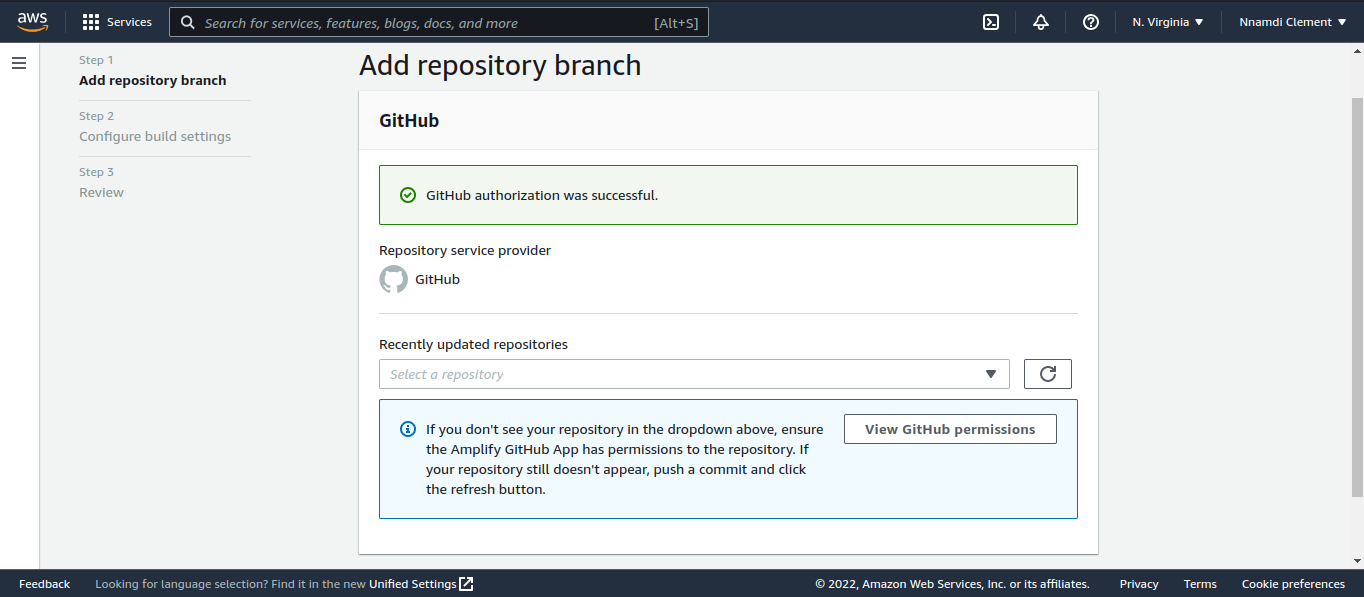
- Choose the newly created repository.
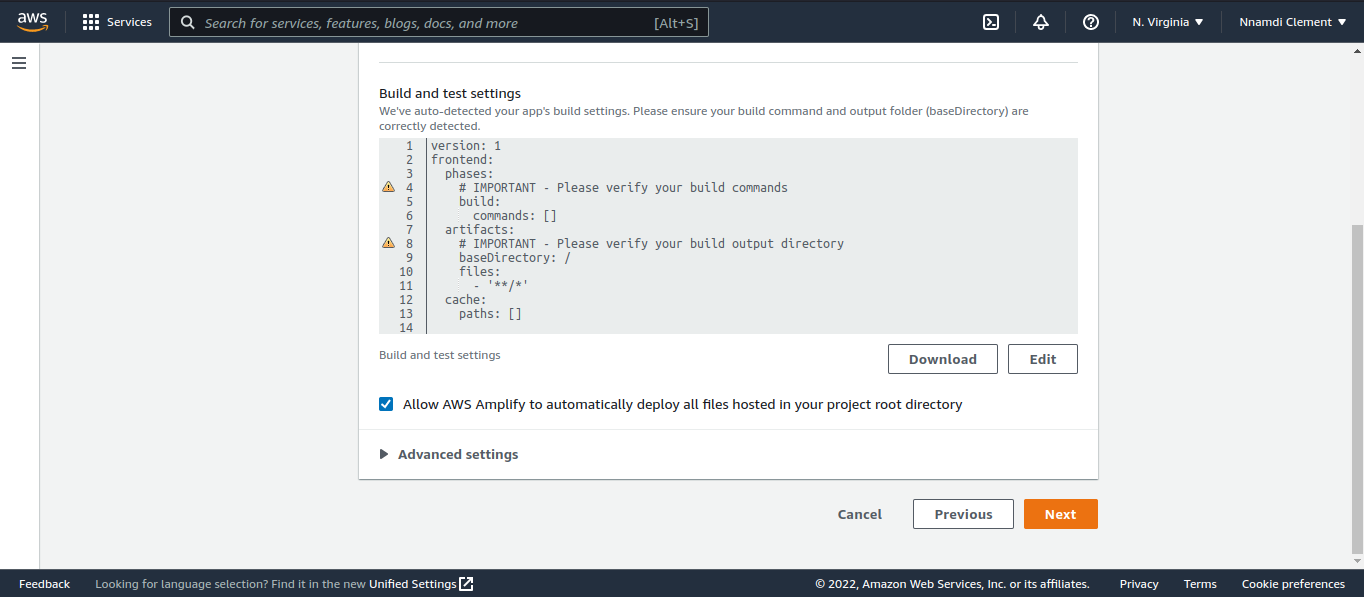
- Accept the default build settings and select Next.
check the allow AWS Amplify to automatically deploy all files hosted in your project root directory box.
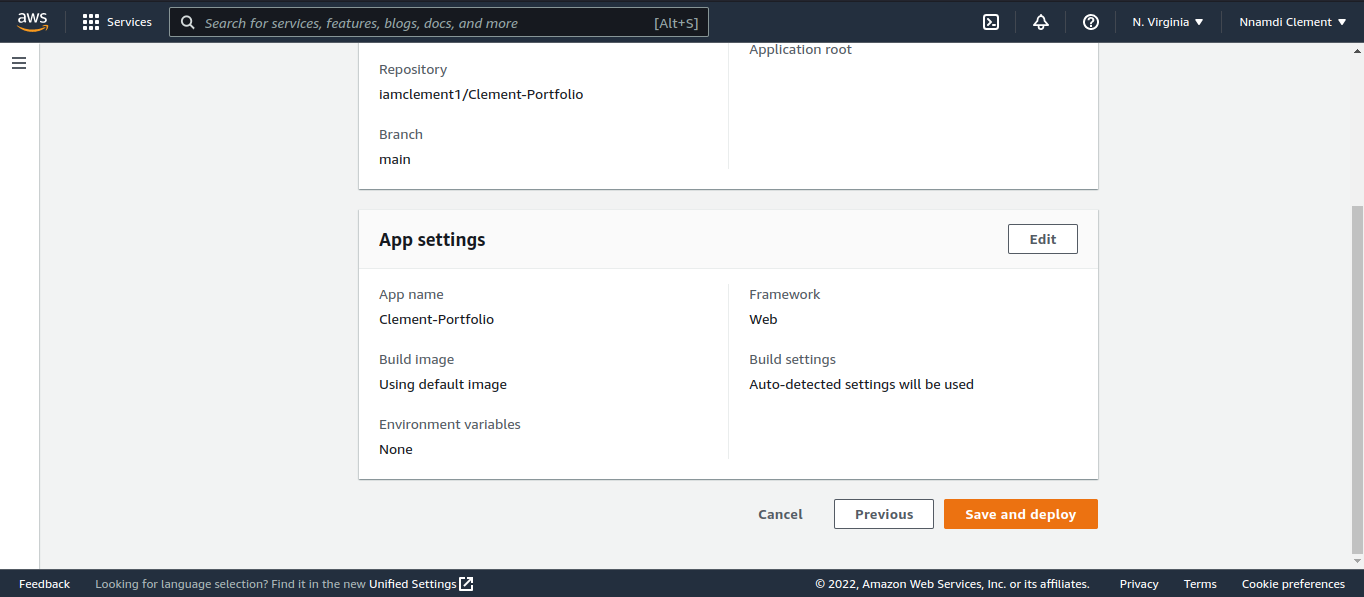
- Review the final details and select Save and Deploy.
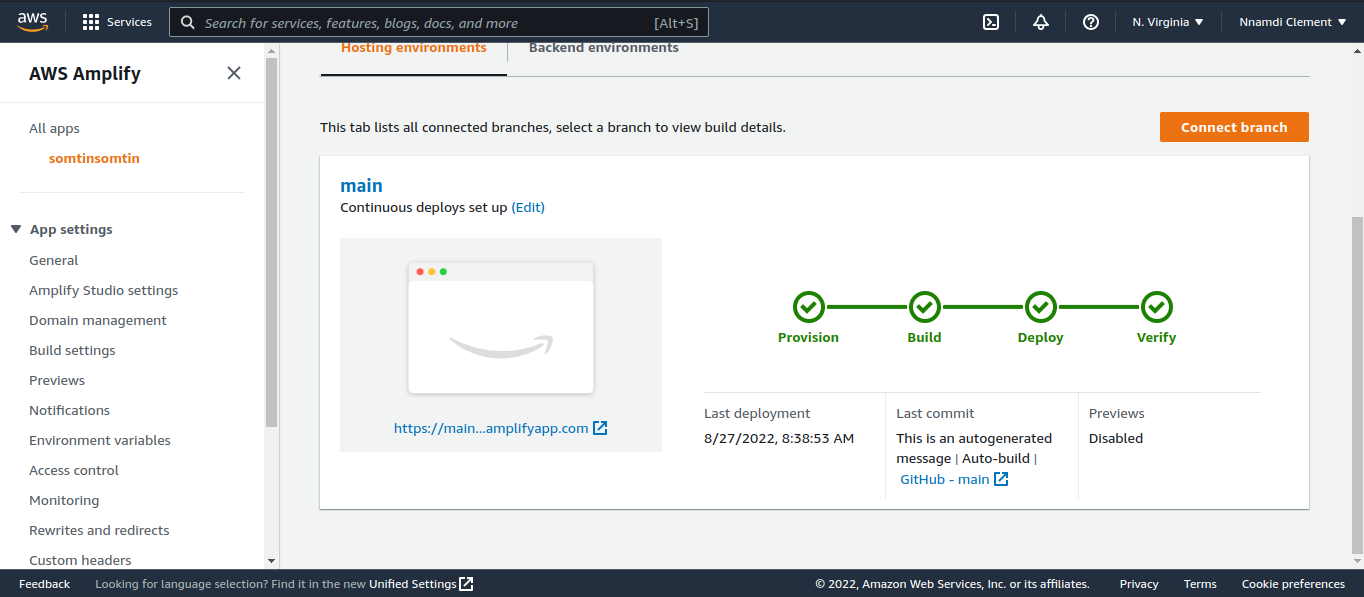
- AWS Amplify will now build your source code and deploy.
NB: When you make changes to your project, try to push the changes to the GitHub repository. AWS will build and deploy your project for you automatically.
Conclusion
Voila🎉! We have deployed a React application on the AWS Cloud by integrating with GitHub and using AWS Amplify.
I hope you find this helpful.