Version Control System - Introduction to Git & GitHub for beginners.
What is git and GitHub.
I am a frontend engineer with a passion for exploring new web technologies, I bring a vast knowledge of jQuery, JavaScript, React, Next, context API, and Redux to every project. With a keen eye for detail and a focus on delivering exceptional user experiences, it is my responsibility to code, style, and create reusable components that adhere to UI specifications. My goal is to help you bring your ideas to life, and I'm always eager to collaborate with others on new and exciting projects. Whether you're looking to create a sleek, modern website or a cutting-edge web application, I have the expertise and creativity to make it happen. If you're interested in learning more about me or discussing project ideas, please don't hesitate to reach out. I'm always looking to expand my network, and I would love to connect with you!
Teamwork and collaboration are core parts of being a developer. With the help of a version control system, this has been made easier.
The word "version control system" might be confusing and sound like a big name, but relax. We'll define it briefly and discuss two of the many tools available in VCS.
In this article, two of the many tools available in the version control system we will discuss are Git and GitHub.
Firstly, let's explain what a version control system is.
What is Version Control System?
Version control is a system that tracks the progress and records changes made in a file or set of files over time so that you can recall specific versions later.
Developers can compare earlier versions of the file or code with an older version to fix mistakes.
What is GitHub?
GitHub is a Git repository hosting service that provides a web-based graphical interface. It is the world’s largest coding community. Putting a piece of code or a project on GitHub increases its visibility. Programmers can find source codes in many different languages and use the command-line interface, Git, to make and track any changes.
GitHub helps every team member work together on a project from any location while facilitating collaboration. You can also review previous versions created at an earlier point in time.
Features of GitHub.
Easy Project Management.
Effective Team Management.
Improved Code Writing.
Easy Code Hosting.
What is Git?
Git is a version control system that lets you track changes made to a file over time. With Git, you can revert to various states of your file (more like a traveling machine). It was created by Linus Torvalds in 2005 and has been maintained by Junio Hamano.
Let us take, for example, the fact that you are working on a website. You're probably done with the navigation and footer; you then realize you're not satisfied with either the alignment or design of the navigation bar. Git allows you to create a copy of that navigation bar, once you've made the necessary changes to your satisfaction, you can then merge the copy with the original file.
You are not limited to using Git for just code files; you can also keep track of images, text files, etc. In a nutshell, Git is not meant for developers, anyone can find it helpful and resourceful.
What Git Does.
Git manages the project with Repositories.
Allows you to Clone a project to work on locally.
It allows control and tracking changes with Staging and Committing.
Allows Branch and Merge to work on different parts and versions of a project.
Allow Pulling the version of the project to your local copy.
Allows Pushing local changes to the main project.
So now we know what Git and GitHub are. It's time to learn more about installing and configuring Git and GitHub.
How To Start Using Git and GitHub
Step 1 - Installing Git
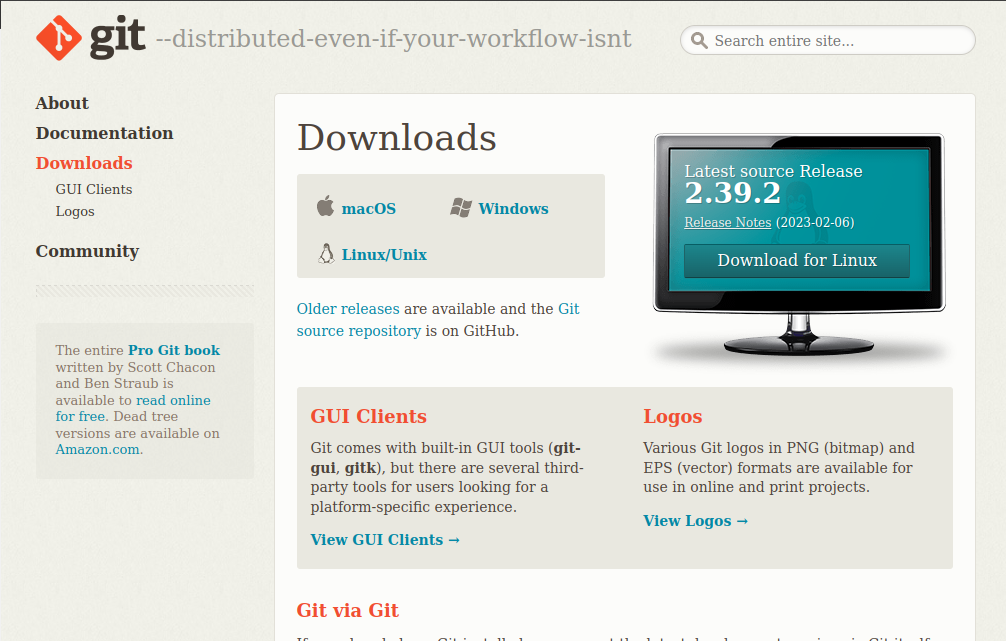
Installing Git on your computer or machine allows you to use Git. To do this, download the latest version from the official website. You can download it for your operating system from the given options.
Step 2 - Create a GitHub Account

When you create an account on GitHub.com, you'll be asked for some personal information like your name, email, username, and password. Once this information is verified your account would be created successfully.
Step 3 - Connecting GitHub and configuring Git
I'll assume you've successfully had Git installed on your computer. To verify the installation of Git, let's run this command git --version

Amazing! The next thing to do is to configure your username and email address. Git will use this information to identify who made specific changes to a file.
To set your username, type this in your terminal:
git config --global user.name "YOUR_USERNAME"
To confirm that you have set your Git email correctly, type this command:
git config --global user.email "YOUR_EMAIL" .
Make sure to replace "YOUR_USERNAME" and "YOUR_EMAIL" with the appropriate credentials.
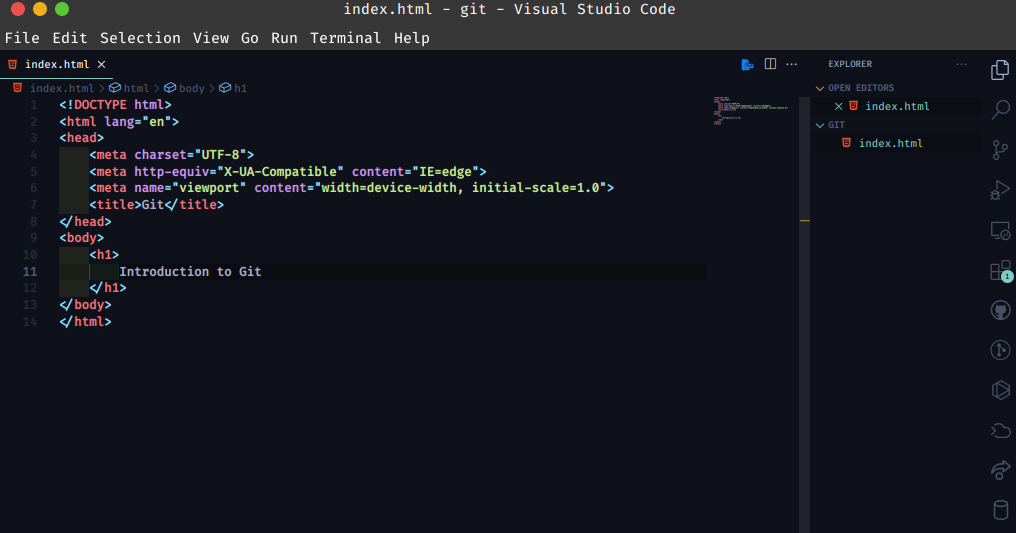
Step 4 - Create a project locally
Step 5 - Create a repository on GitHub
Visit github.com and sign in with your credentials. Click on the + sign at the top right corner to create a new repository.

You'll be redirected to this page.

Give your repository a name and add a description (the description is optional). Click the "Create repository" button to create the repository.
You will be directed to this page.

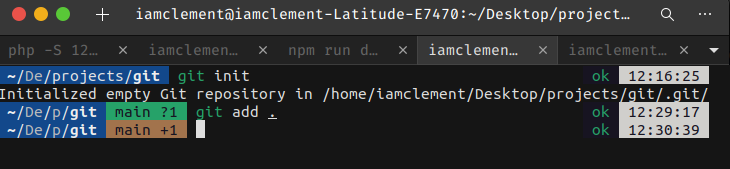
Step 6 - Push your local code to GitHub
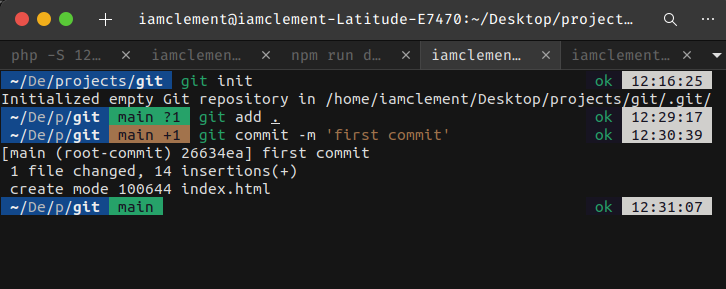
To push your local code to GitHub, open your terminal. Input the following code one after another and press Enter to proceed after each input.
git init.

git add .
git commit -m 'message'
git remote add origin "REPOSITORY_URL"

git push origin main
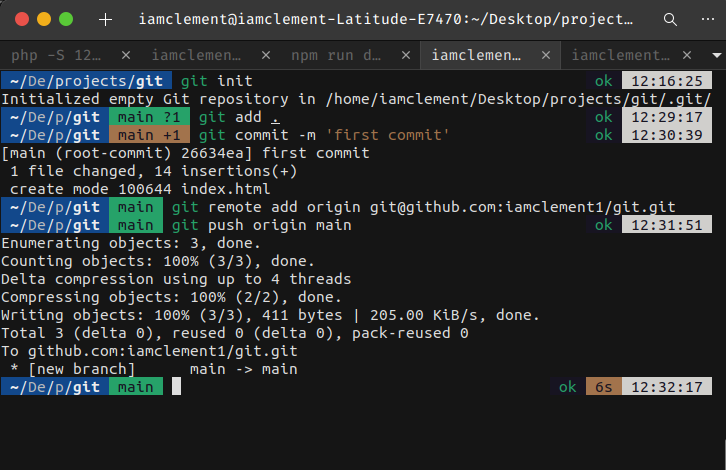
Voila! We have successfully pushed our local code to GitHub, other developers can either contribute or view your code.

Common Git Commands to Know
There are a lot of Git commands, and this can be overwhelming. I'd suggest focusing on some of the most popular ones.
Here they are:
git init allows you to initialize Git in your project folder.
git add . allows you to add all the files present in the project folder.
git commit stores the added files. Using -m is to initialize the actual message for that commit.
git remote add origin this finally connects the local folder to the repository on GitHub, followed by the repository's link.
git push origin main allows you to push the code to GitHub.
Those are some of the main commands you'll use all the time.
Wrap up
After reading this essay, you may be feeling too anxious about Git and GitHub. When you learn something new, keep in mind that it might not make sense at first, but with continuous practice, you'll start to feel at ease.
I appreciate you reading this. If you found it useful, think to consider recommending it to help other developers.


