Firebase Cloud Storage
How to upload & delete an image using Firebase Storage in ReactJs

I am a frontend engineer with a passion for exploring new web technologies, I bring a vast knowledge of jQuery, JavaScript, React, Next, context API, and Redux to every project. With a keen eye for detail and a focus on delivering exceptional user experiences, it is my responsibility to code, style, and create reusable components that adhere to UI specifications. My goal is to help you bring your ideas to life, and I'm always eager to collaborate with others on new and exciting projects. Whether you're looking to create a sleek, modern website or a cutting-edge web application, I have the expertise and creativity to make it happen. If you're interested in learning more about me or discussing project ideas, please don't hesitate to reach out. I'm always looking to expand my network, and I would love to connect with you!
Welcome back again, 😊!
In my previous article, we discussed how to use Firebase Google authentication to sign in. Together, we'll be looking at how to store images using Firebase Cloud Storage, so without further ado, let's get into it.
Let's quickly take a look at what Firebase Cloud Storage is about.
What is Firebase Cloud Storage?
Firebase Cloud Storage is a service that developers can use to store and download files generated directly by clients. No server-side code is needed.
Let's get our project started.
Step 1: Create a new Firebase Project
Head over to firebase.google.com and create a new project.

On the dashboard, click on the Web icon to initialize Firebase for Web apps.
Add Firebase to your web app.
Next, head over to the Storage tab and click on the "Get Started" button.
A pop-up window would display, asking if you were okay with some settings. Replace the allow read, write: if false; to true. This ensures we are allowed to upload files to Firebase without needing authentication for the simplicity of this tutorial.
Click "Next" to proceed.

Next, create a folder with the name "images" by clicking on the folder icon beside the upload file button. Your uploaded images would be saved in the image folder you created.
And there you go! Firebase Cloud Storage is now enabled. Let’s integrate it into our app.
NB: Remember to create a firebase.config.js file in the src directory, this is where your project API key and other important information provided by firebase would be stored or configured. You can use the below code as an example.
src/firebase.config.js
import { getApp, getApps, initializeApp } from 'firebase/app';
import { getFirestore } from 'firebase/firestore';
import { getStorage } from 'firebase/storage';

//here is the firebase configuration
const firebaseConfig = {
    apiKey: "********************************",
    authDomain: "********************",
    projectId: "********",
    storageBucket: "***************",
    messagingSenderId: "************",
    appId: "*******************************************",
};

// replace the above firebaseConfig keys with the one provided by Firebase in your project setting.

//initialize firebase;
const app = getApps.length > 0 ? getApp() : initializeApp(firebaseConfig);

const firestore = getFirestore(app);

const storage = getStorage(app);

export { app, firestore, storage}
Step 2: Create a React App
To create React App, simply run npm create-react-app test
In this example, Vite will serve as our bundler and Tailwind will be used to style our app. Type the following code in your terminal:
npm init vite@latest: This snippet initializes the latest version of Vite.
Use a project name of your choice.
There is a list of frameworks available, but since we're working with React, I choose to use React with JavaScript as a variant.
cd into your project (e.g.
cd firebase_cloud_storage) then run npminstall
Adding and Configuring TailwindCss
Let's now include and configure Tailwind CSS in our project with the following code.
npm install -D tailwindcss postcss autoprefixernpx tailwindcss init -p
The above snippet installed tailwindcss and its peer dependencies via npm, and then run the init command to generate both tailwind.config.cjs and postcss.config.cjs.
Next, open your project with your code editor and configure the tailwind.config.cjs file.
//change the content in the tailwind.config.cjs file FROM THIS
module.exports = {
  plugins: {
    tailwindcss: {},
    autoprefixer: {},
  },
}

//TO

/** @type {import('tailwindcss').Config} */
module.exports = {
  content: [
    "./index.html",
    "./src/**/*.{js,ts,jsx,tsx}",
  ],
  theme: {
    extend: {},
  },
  plugins: [],
}
Next, let's run our project with npm run dev

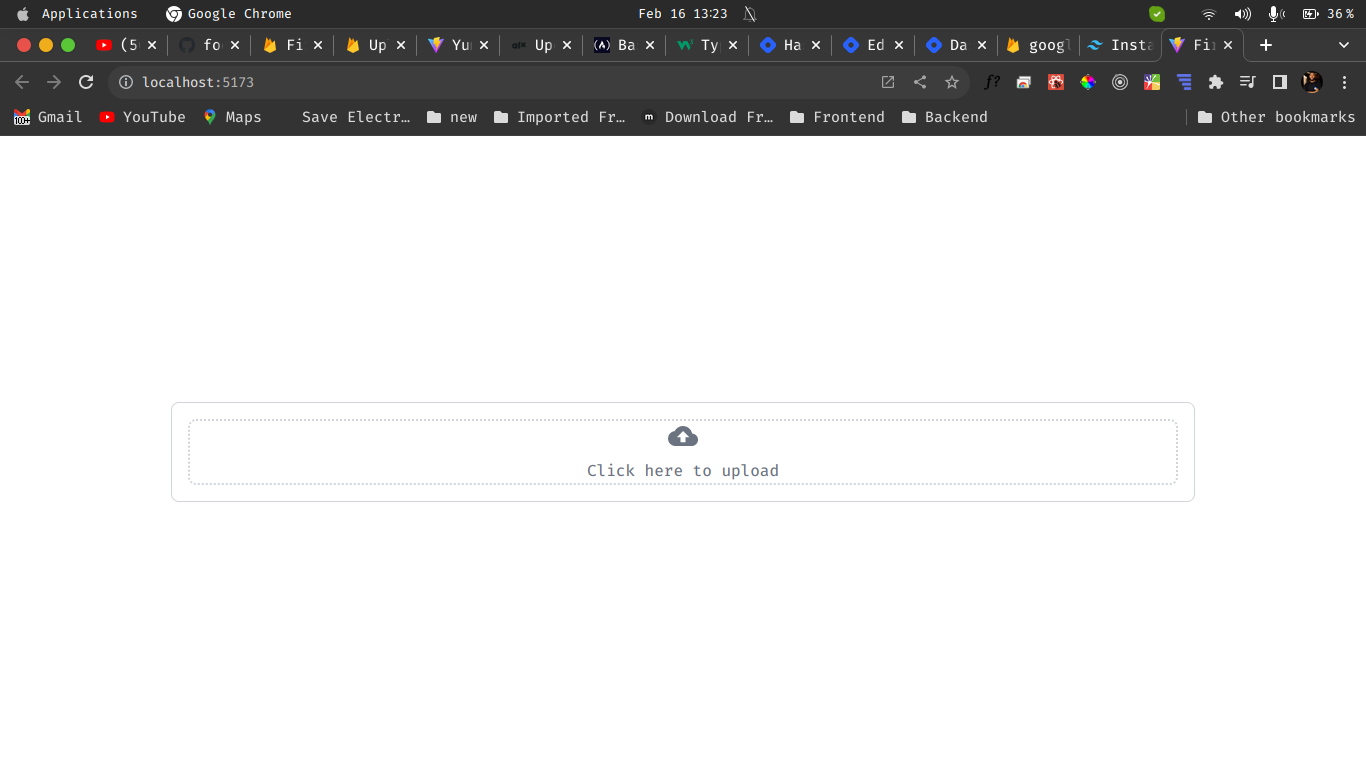
Congratulations! You've completed our project if you can see this in your browser.
Let's configure our tailwindcss by adding the following code to our App.css file
@tailwind base;
@tailwind components;
@tailwind utilities;

//remove the styles you have in App.js file and replace them with this to be able to use tailwindcss across all your project.
Installing Packages
React icons
React icons seem to be my favorite icon set out of all the icon packages, including font-awesome icons. Simply use this command in your terminal to use react-icons;
npm install react-iconsFirebase
Google Firebase is a Google-backed application development software that enables developers to develop iOS, Android, and Web apps.
npm install firebase
Configure Firebase
Recall that I previously said that Firebase has already given us the project API key and other keys. This could seem like a redundancy, but I'm only bringing it up because it's an extremely important component of our project.
Create a firebase.config.js file in your src folder
import { getApp, getApps, initializeApp } from 'firebase/app';
import { getFirestore } from 'firebase/firestore';
import { getStorage } from 'firebase/storage';

//here is the firebase configuration
const firebaseConfig = {
    apiKey: "********************************",
    authDomain: "********************",
    projectId: "********",
    storageBucket: "***************",
    messagingSenderId: "************",
    appId: "*******************************************",
};

// replace the above firebaseConfig keys with the one provided by Firebase in your project setting.

//initialize firebase;
const app = getApps.length > 0 ? getApp() : initializeApp(firebaseConfig);

const firestore = getFirestore(app);

const storage = getStorage(app);

export { app, firestore, storage}
Next, write the following code in your App.js file.
import { useState } from 'react'
import { MdCloudUpload, MdDelete } from 'react-icons/md'
import { storage } from './firebase.config'
import { deleteObject, getDownloadURL, ref, uploadBytesResumable } from 'firebase/storage';
import Loader from './components/Loader'
import './App.css'

function App() {

  //state management
  const [imageAsset, setImageAsset] = useState(null);
  const [fields, setFields] = useState(false);
  const [alertStatus, setAlertStatus] = useState("danger");
  const [msg, setMsg] = useState(null);
  const [isLoading, setIsLoading] = useState(false);

  const uploadImage = (e) => {
    setIsLoading(true);
        const imageFile = e.target.files[0]; // uploading single image
        console.log(imageFile);
        const storageRef = ref(storage, `Images/${Date.now()}-${imageFile.name}`)
        const uploadTask = uploadBytesResumable(storageRef, imageFile); //uploadBytesResumable from firebase storage

        //to calculate the size of the uploaded image
        uploadTask.on('state_changed', (snapshot) => {
            const uploadProgress = (snapshot.bytesTransferred / snapshot.totalBytes) * 100;
        }, (error) => {
            console.log(error);
            setFields(true);
            // setMsg(error.message);
            setMsg('Error uploading image : Try again 🙇');
            setAlertStatus("danger");
            //remove alert
            setTimeout(() => {
                setFields(false);
                setIsLoading(false);
            }, 4000)
        }, () => {
            getDownloadURL(uploadTask.snapshot.ref).then((downloadURL) => {
                setImageAsset(downloadURL);
                setIsLoading(false);
                setFields(true);
                setMsg('Image Uploaded Successfully 😊');
                setAlertStatus('success');
                setTimeout(() => {
                    setFields(false);

                }, 4000);
            });
        });
  };

      //delete image

      const deleteImage = () => {
        setIsLoading(true);
        const deleteRef = ref(storage, imageAsset);
        //using the deleteObject method from firebase storage
        deleteObject(deleteRef).then(() => {
            setImageAsset(null);
            setIsLoading(false);
            setFields(true);
            setMsg('Image deleted Successfully 😊');
            setAlertStatus('success');
            setTimeout(() => {
                setFields(false);

            }, 4000);
        })
    };

  return (
    <div className="App">
      <div className='w-full min-h-screen flex items-center justify-center'>
        <div className='w-[90%] md:w-[25%] border border-gray-300 rounded-lg p-4
            flex flex-col items-center justify-center gap-4'>
          {/* alert message */}
          {
            fields && (
              <p
                className={`w-full p-2 rounded-lg text-center text-lg font-semibold ${alertStatus === "danger" ? 'bg-red-400 text-red-800' : 'bg-emerald-400 text-emerald-800'}`}>
                {msg}
              </p>
            )
          }
          {/* image upload */}
          <div className="group flex justify-center items-center flex-col border-2
                  border-dotted border-gray-300 w-full h-225 md:h-420 cursor-pointer rounded-lg ">
            {/* if loading is tru show loader else show the react fragment */}
            {
              isLoading ? <Loader /> : (
                <>
                  {/* if imageAsset is null do this otherwise do this */}
                  {
                    !imageAsset ? (
                      <>
                        <label className="w-full h-full flex flex-col items-center justify-center cursor-pointer">
                          <div className="w-full h-full flex flex-col items-center justify-center gap-2">
                            <MdCloudUpload className="text-gray-500 text-3xl hover:text-gray-700" />
                            <p className="text-gray-500 hover:text-gray-700">
                              Click here to upload
                            </p>
                          </div>
                          <input
                            type="file"
                            name="uploadimage"
                            accept="image/*"
                            onChange={uploadImage}
                            className="w-0 h-0"
                          />
                        </label>
                      </>
                    ) :
                      (
                        <>
                          <div className='relative h-full '>
                            {/* would display if an image is already available */}
                            <img src={imageAsset} alt="uploaded image" className='w-full h-full object-cover' />
                            <button type='button'
                              className='absolute bottom-3 right-3 p-3 rounded-full bg-red-500
                                      text-xl cursor-pointer outline-none
                                      hover:shadow-md duration-500 transition-all ease-in-out'
                              onClick={deleteImage}>
                              <MdDelete className='text-white' />
                            </button>
                          </div>
                        </>
                      )}
                </>
              )}
          </div>

        </div>
      </div>
    </div>
  )
}

export default App
Although style or managing React State aren't the main topics of this tutorial, let's go over what the code does.
After installing react-icons, we imported the icons we want to use for this project.
We managed the following states, image, isLoading, alertStatus, msg, and fields.
We created a uploadImage function which is called on the click here to upload text.
The deleteImage function is used to delete the already uploaded image from the Firebase Cloud Storage.
The alertStatus manages our field status either successful or failed.
The result of an operation, whether it was successful or unsuccessful, is shown in the msg (message) state.
The loading state, often known as a progress rotation bar, indicates that the procedure is ongoing and is indicated by a spinner.
Let's have a look at the output.
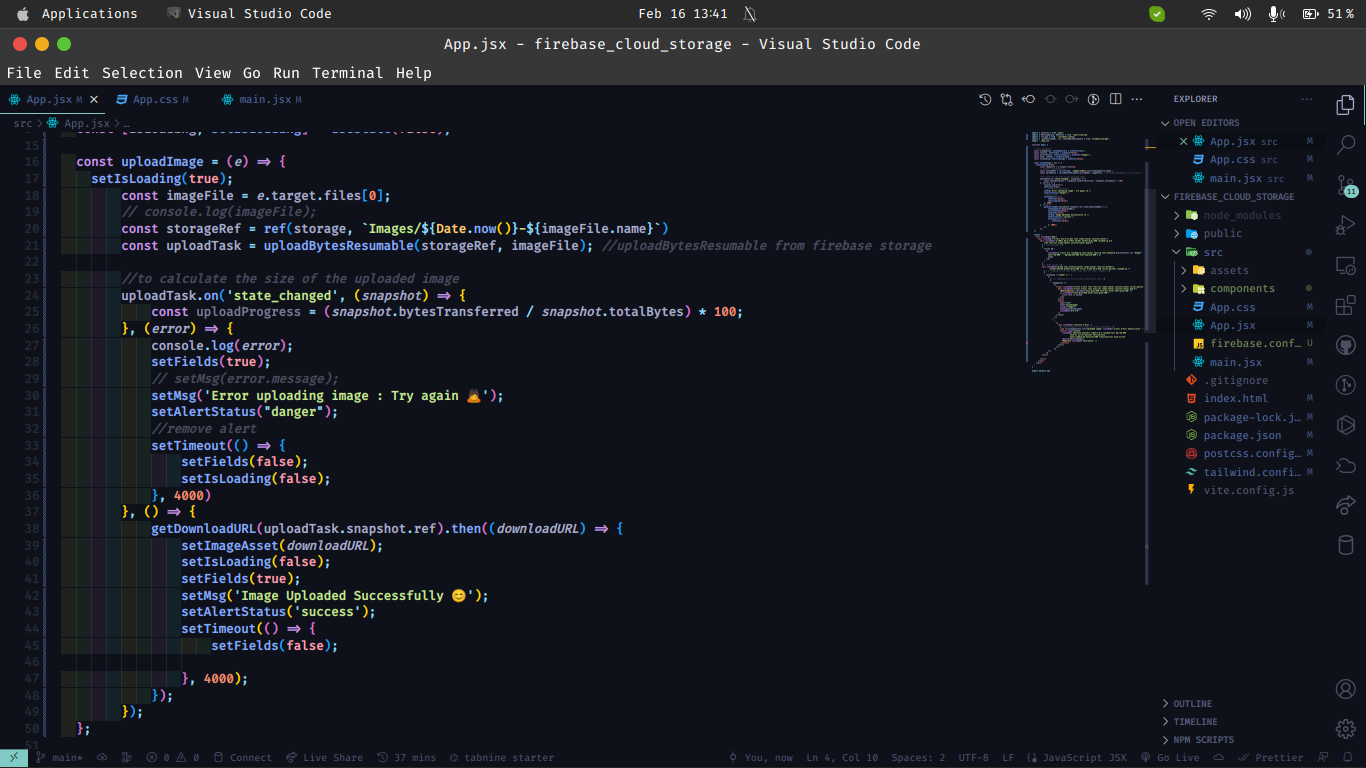
Let's configure what our upload image function does with the code below:
const uploadImage = (e) => {
    setIsLoading(true);
        //this function is used to select an image
        const imageFile = e.target.files[0];
        // console.log(imageFile);
        const storageRef = ref(storage, `Images/${Date.now()}-${imageFile.name}`)
        const uploadTask = uploadBytesResumable(storageRef, imageFile); //uploadBytesResumable from firebase storage

        //to calculate the size of the uploaded image
        uploadTask.on('state_changed', (snapshot) => {
            const uploadProgress = (snapshot.bytesTransferred / snapshot.totalBytes) * 100;
        }, (error) => {
            console.log(error);
            setFields(true);
            // setMsg(error.message);
            setMsg('Error uploading image : Try again 🙇');
            setAlertStatus("danger");
            //remove alert
            setTimeout(() => {
                setFields(false);
                setIsLoading(false);
            }, 4000)
        }, () => {
            getDownloadURL(uploadTask.snapshot.ref).then((downloadURL) => {
                setImageAsset(downloadURL);
                setIsLoading(false);
                setFields(true);
                setMsg('Image Uploaded Successfully 😊');
                setAlertStatus('success');
                setTimeout(() => {
                    setFields(false);

                }, 4000);
            });
        });
  };
Let's briefly discuss the actions in the above code.
ref is imported from firebase/storage.
storage is imported from the firebase.config.js configuration file.
'Images/$Date.now()-$imageFile.name' => We utilize the Date.now() function to provide our image with a unique identifier, the folder we created in our Firebase project as Images/, and $imageFile.name stands for the name of the image we are uploading.
Next, let's configure what our upload image function does with the code below:
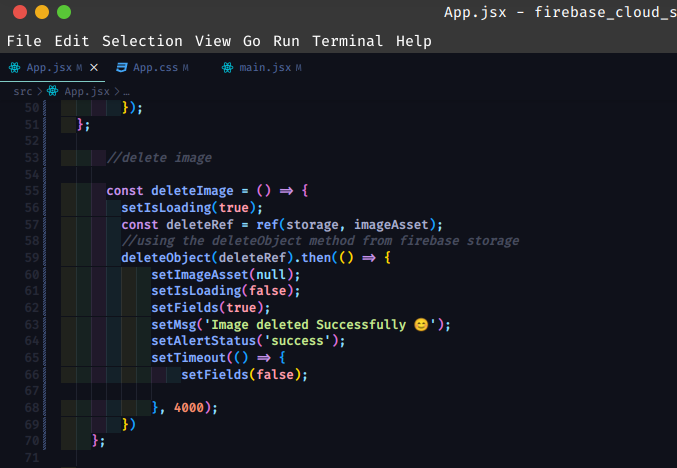
 //delete image

      const deleteImage = () => {
        setIsLoading(true);
        const deleteRef = ref(storage, imageAsset);
        //using the deleteObject method from firebase storage
        deleteObject(deleteRef).then(() => {
            setImageAsset(null);
            setIsLoading(false);
            setFields(true);
            setMsg('Image deleted Successfully 😊');
            setAlertStatus('success');
            setTimeout(() => {
                setFields(false);

            }, 4000);
        })
    };
Of course, we need to write the code for our Loader. Create a Loader.jsx file in our component folder, and write the following code.
NB: If you have no component folder, you can simply create it inside the src folder.
src/components/Loader.jsx
import React from 'react'

const Loader = () => {
    return (
        <div>
            <div role="status">
                <svg aria-hidden="true" className="inline w-10 h-10 mr-2 text-gray-200 animate-spin dark:text-gray-600 fill-yellow-400" viewBox="0 0 100 101" fill="none" xmlns="http://www.w3.org/2000/svg">
                    <path d="M100 50.5908C100 78.2051 77.6142 100.591 50 100.591C22.3858 100.591 0 78.2051 0 50.5908C0 22.9766 22.3858 0.59082 50 0.59082C77.6142 0.59082 100 22.9766 100 50.5908ZM9.08144 50.5908C9.08144 73.1895 27.4013 91.5094 50 91.5094C72.5987 91.5094 90.9186 73.1895 90.9186 50.5908C90.9186 27.9921 72.5987 9.67226 50 9.67226C27.4013 9.67226 9.08144 27.9921 9.08144 50.5908Z" fill="currentColor" />
                    <path d="M93.9676 39.0409C96.393 38.4038 97.8624 35.9116 97.0079 33.5539C95.2932 28.8227 92.871 24.3692 89.8167 20.348C85.8452 15.1192 80.8826 10.7238 75.2124 7.41289C69.5422 4.10194 63.2754 1.94025 56.7698 1.05124C51.7666 0.367541 46.6976 0.446843 41.7345 1.27873C39.2613 1.69328 37.813 4.19778 38.4501 6.62326C39.0873 9.04874 41.5694 10.4717 44.0505 10.1071C47.8511 9.54855 51.7191 9.52689 55.5402 10.0491C60.8642 10.7766 65.9928 12.5457 70.6331 15.2552C75.2735 17.9648 79.3347 21.5619 82.5849 25.841C84.9175 28.9121 86.7997 32.2913 88.1811 35.8758C89.083 38.2158 91.5421 39.6781 93.9676 39.0409Z" fill="currentFill" />
                </svg>
                <span className="sr-only">Loading...</span>
            </div>
        </div>
    )
}

export default Loader
Finally, let's run our project with, this time endeavor to upload an image and see what we have. Your result should be similar to what we have below.
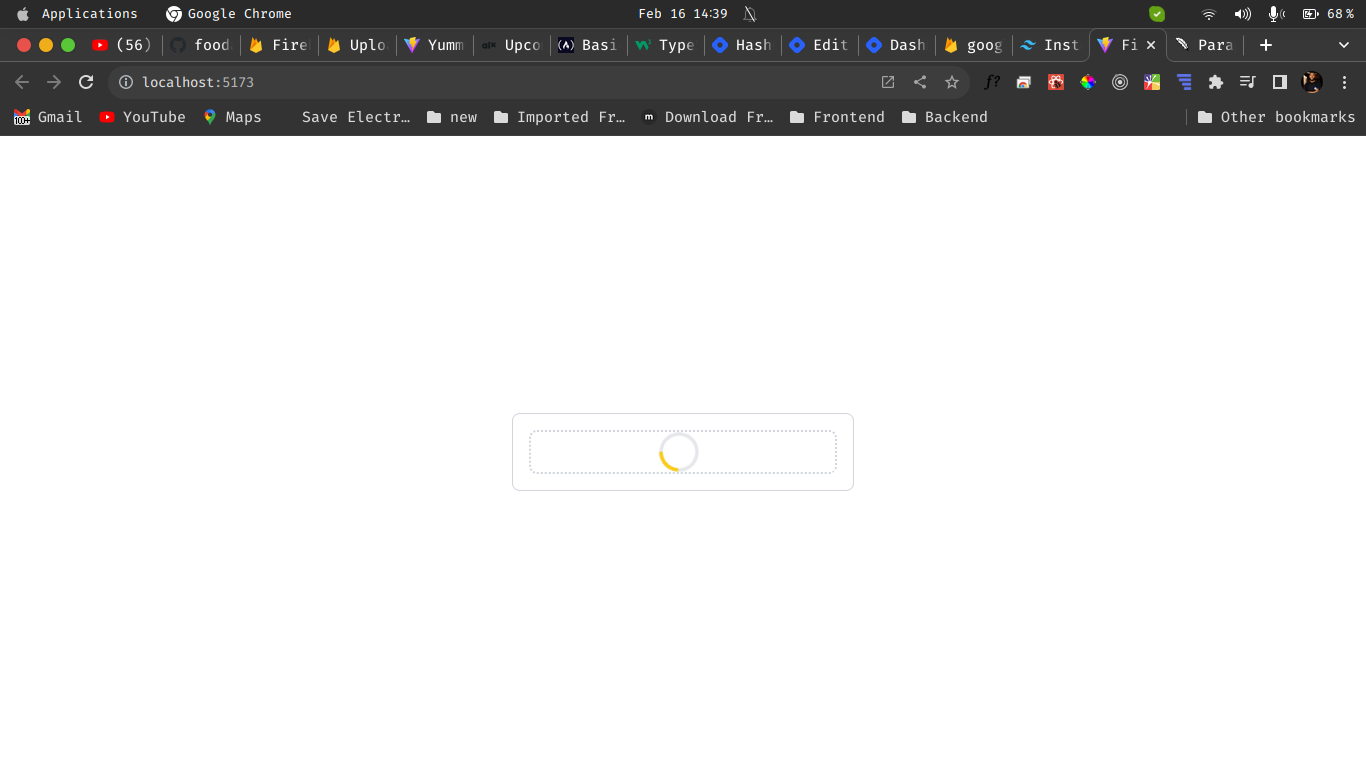
You should have a spinner that indicates the image is uploading.
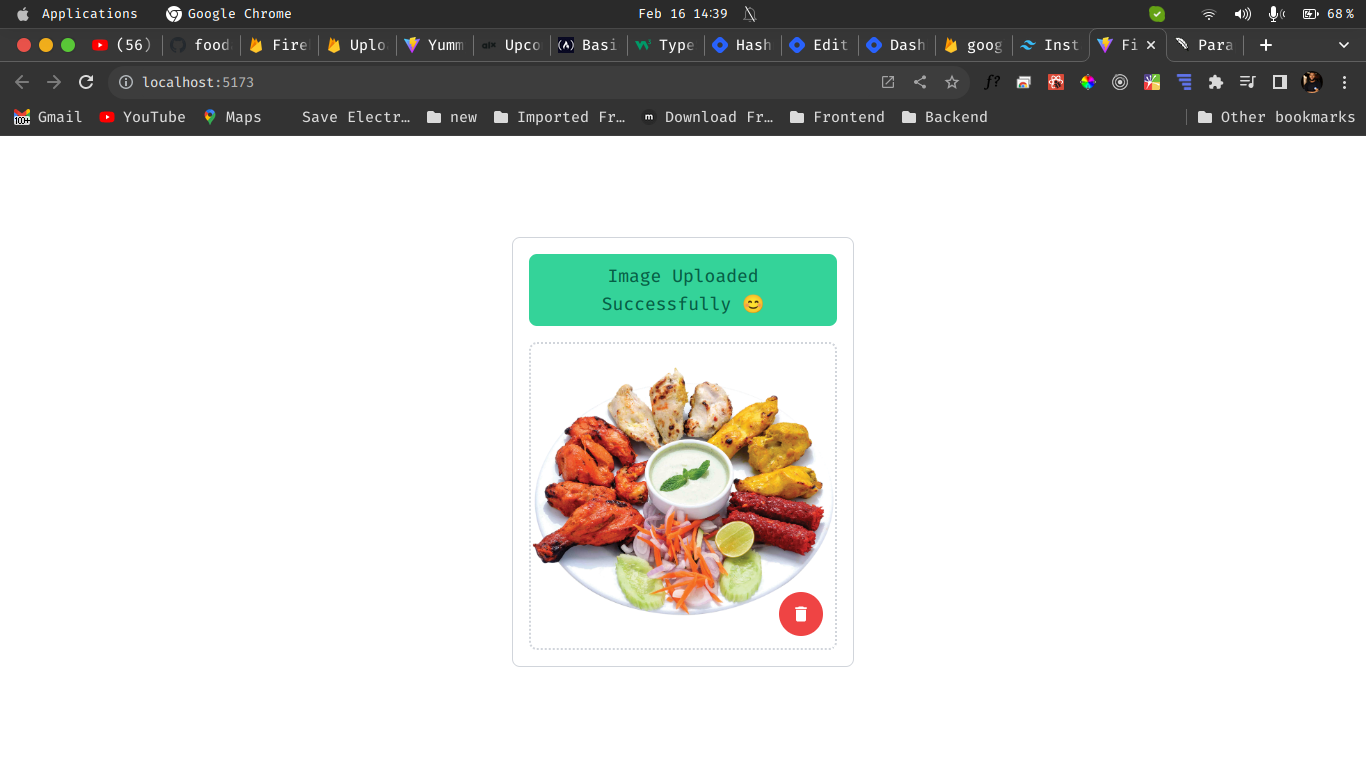
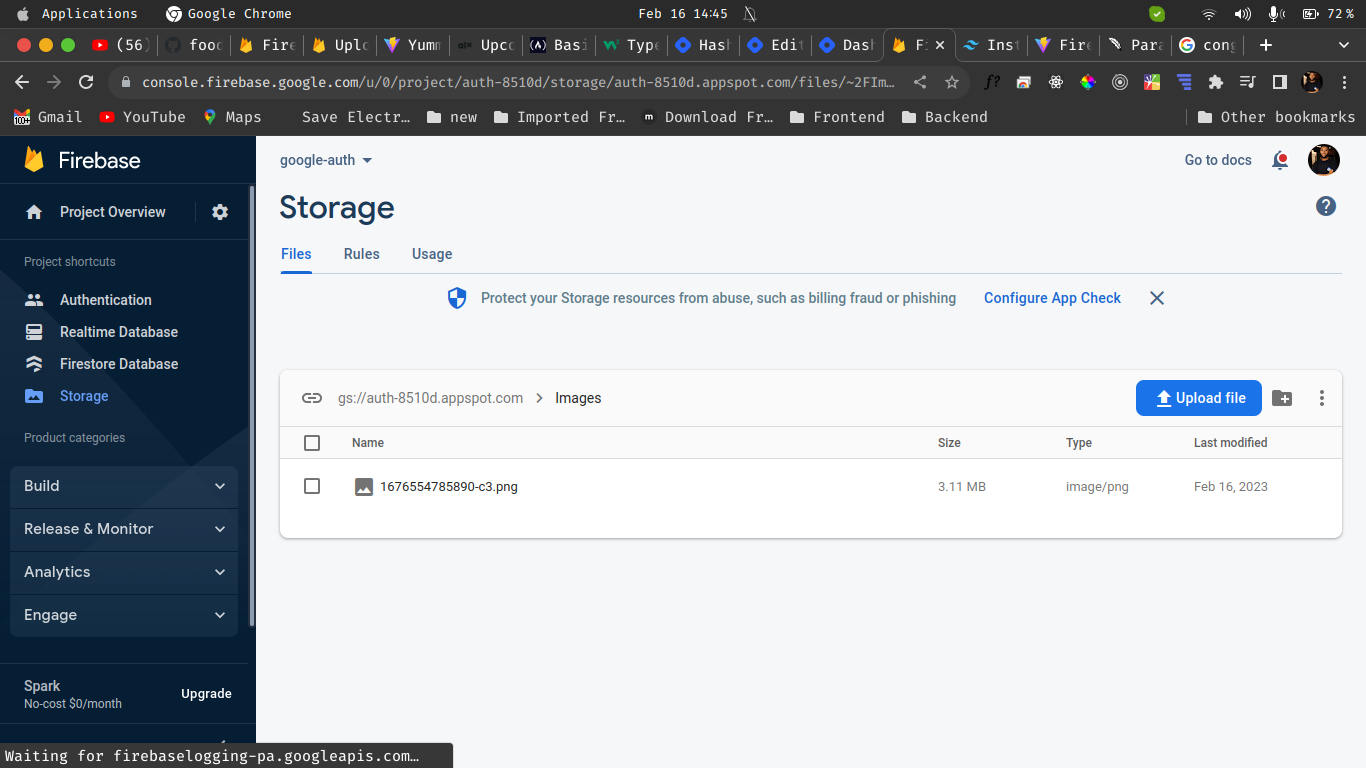
Congratulations 🙌, our newly uploaded image has been successfully stored on Firebase Cloud Storage. To verify this, let's visit firebase.google.com, find our project, and click on storage. The uploaded image is located in the image folder we created.
Next, let's remove the image by clicking the app's delete symbol. Checking to see if the uploaded image has been removed from our Firebase Cloud Storage.
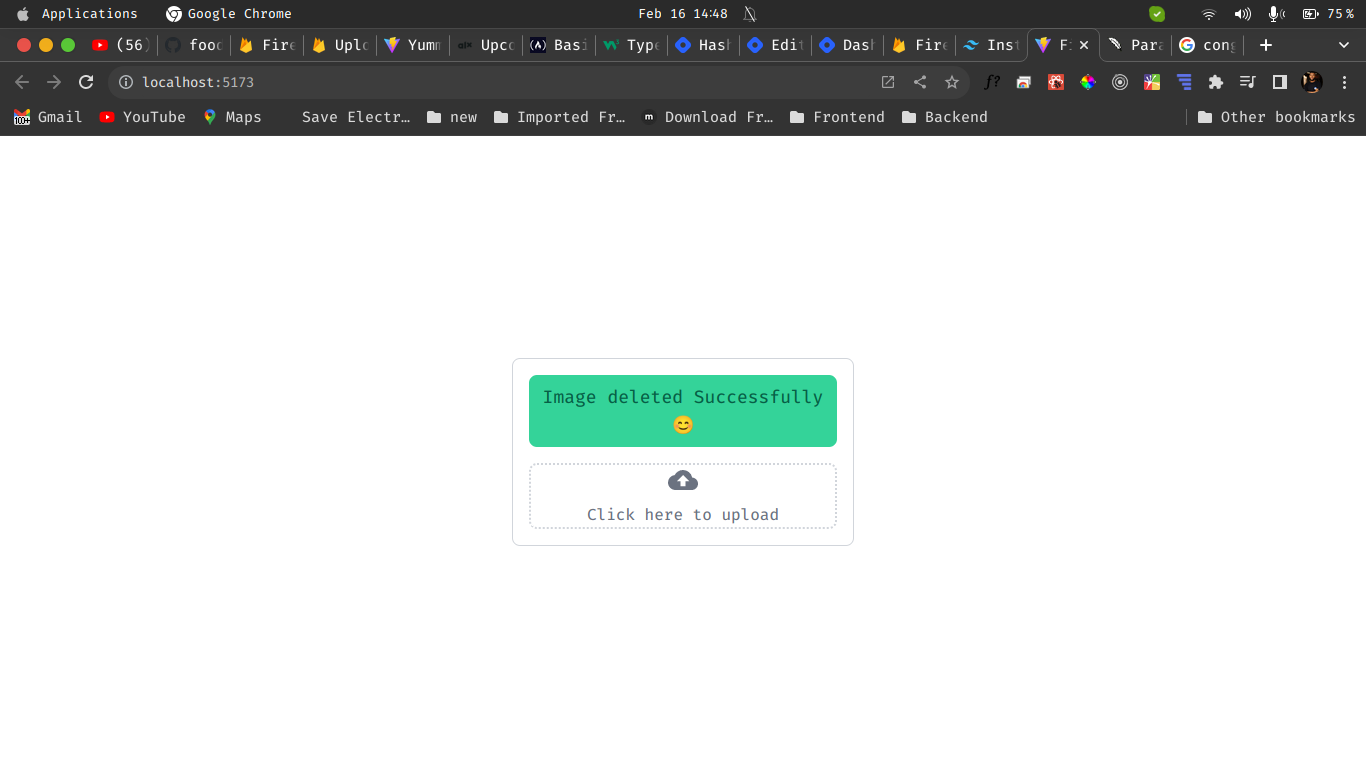

Of course, both our app and the Firebase Cloud Storage have deleted the image we uploaded.
In conclusion, I hope that this article has helped shed light on the topic at hand. If you found this information useful, please consider sharing it with your friends and family who may also benefit from it. Don't hesitate to leave a comment below if you have any questions or thoughts to share, as I would love to hear from you. Additionally, if you appreciate the content we produce, please give us a like to let us know that we are providing valuable information.
Thank you for taking the time to read this article, and I look forward to hearing from you soon!